
Install
Setup SmartCopilot plugin
Quick tutorial
X-Plane requirements
There are no special requirements for X-Plane to run SmartCopilot. The one thing to care about is making sure X-Plane application is not blocked by the firewall and can access the network. When X-Plane starts for the first time on Windows it asks the user to add the firewall rule. Important is to allow the access!
Currently, the plugin works with X-Plane 11 on Windows, Linux, and Mac OS.
Install SmartCopilot
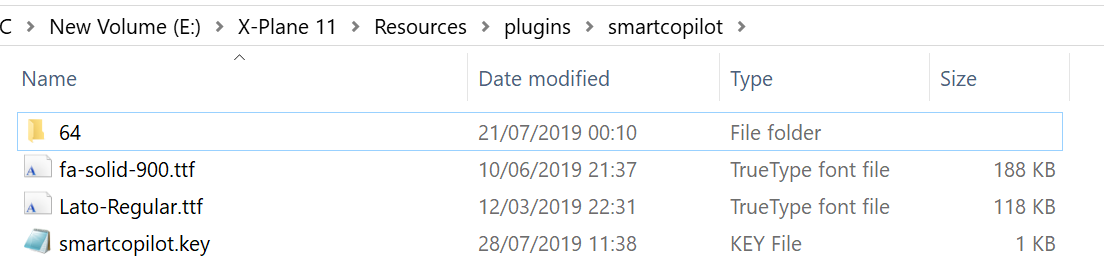
To install SmartCopilot plugin download the plugin from this page. Unzip smartcopilot folder from zip file to X-Plane default plugins folder: X-Plane_Root/Resources/plugins. Installed plugin folder and files should look like this:
When starting X-Plane the SmartCopilot main window should be seen on the screen:
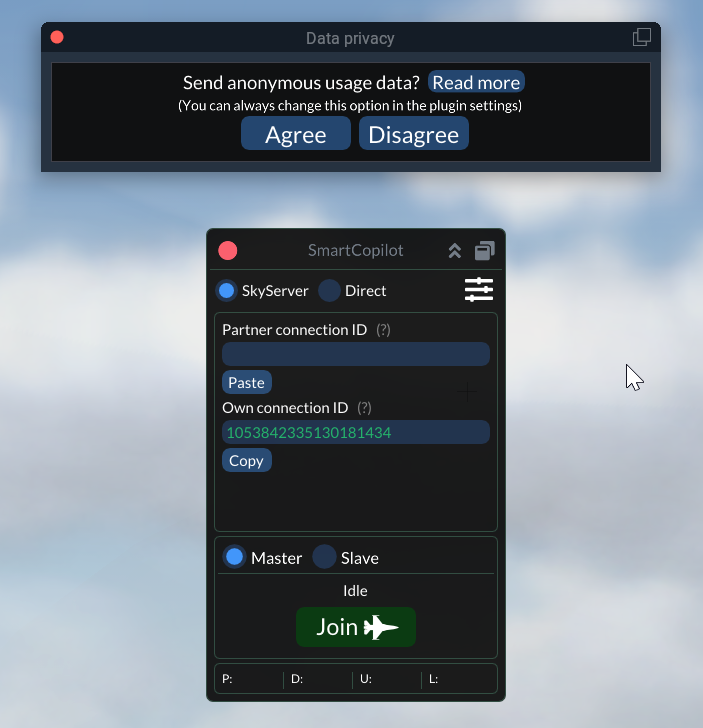
When you start the plugin for the first time, it will ask you to enable the collecting of anonymous usage data. You can enable or disable this option later in the plugin settings. Read more about SmartCopilot usage statistic here.
After buying the plugin, a license file automatically will be sent to your PayPal e-mail. Please save this license file to the plugin folder and restart X-Plane. Don’t change the license file name and its content. If the e-mail with license file didn’t come for some reason, please contact us at [email protected].
If the plugin is successfully licensed no DEMO mark should be seen on the main window.
SmartCopilot Settings
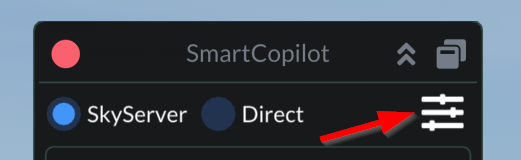
When you start the SmartCopilot plugin for the first time, you need to set up a network interface. Please, go to the plugin settings and select interface IP address and port:
- Select network interface (leave it 0.0.0.0 if you don’t know what does it mean).
- Enter port number (by default it is 56897).
- The Autostart switch enables the plugin to automatically start on every X-Plane session.
- Press the Start button.

Now the plugin is ready to use. Close the Settings window by pressing the cross in the top-right corner.
Connection via SkyServer
SmartCopilot has two connection methods – SkyServer mode and direct mode. We highly recommend using SkyServer mode. It is a very simple method. It will do all port-forwarding operations and create a P2P connection for you. All you need to know is your partner connection ID number.
When you select SkyServer mode in the plugin window, you will see two fields – partner connection ID and own connection ID:
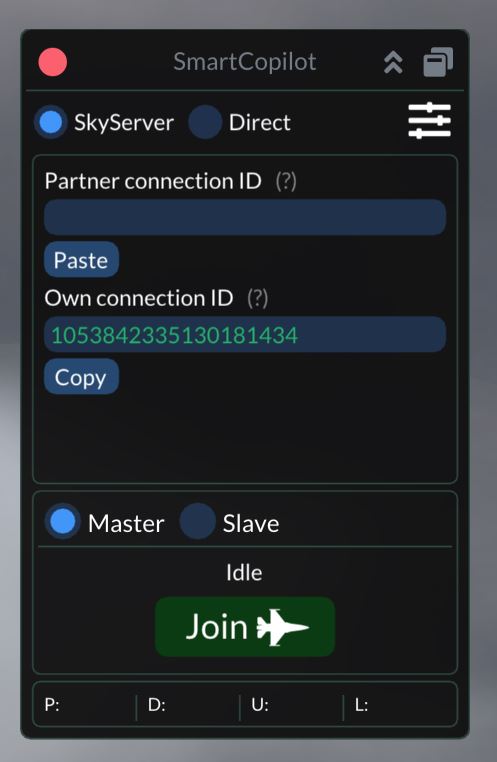
All you need is to get your partner connection ID, paste it in the field, and press Join.
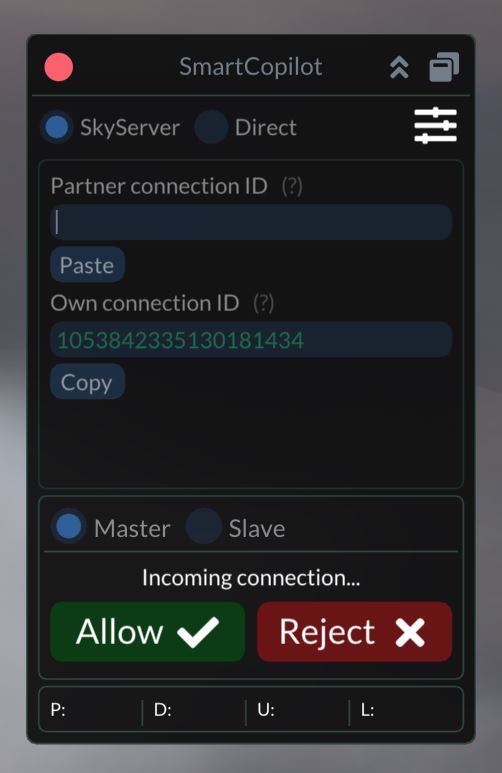
After pressing the Join button, your flight partner will receive a connection request. He needs to press the Allow button to start the shared cockpit session:
Direct connection mode
Please, follow this link.
Configuration files
- The plugin works by reading a configuration file in the aircraft’s root folder. The file is always called smartcopilot.cfg.
- On the Download page, you can get configuration files that are available for download. We hope that this database will be updated by us, developers and the user community. Everybody who wants to share own configuration file can register and upload the file to the database.
- Information on how to create a configuration file can be viewed at Hangar page.
Start the flight
So, when SmartCopilot plugin is ready and running you can try to start the flight. Before you press Join button check following:
- both partners have the same SmartCopilot version
- both partners have the same X-Plane version
- both partners are in the same aircraft
- both partner aircraft started on the same location
- both partners have the same scenery and mesh installed
Now you should decide who wants to be a Master. We recommend the Master should be the person who has a better PC (higher FPS), better aircraft knowledge, and better upload internet speed. The person who wants to be a Master should have configuration file (smartcopilot.cfg) installed in the aircraft folder. List of available configuration files could be found here. Select Master or Slave in the plugin main window. The person who accepts the connection will change his state opposite to connection initiator automatically.
How to start the connection in SkyServer mode is described above. In direct connection mode just select one of the predefined partners in the list and press Join. That should work the magic and you two should now be connected and sharing a cockpit over the network. From this moment the plugin is fully working and you can try to take off.
Controlling the aircraft
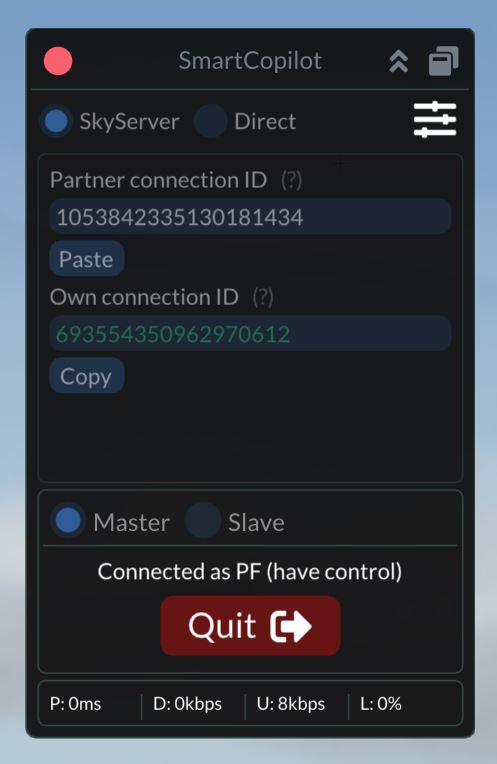
Most of the buttons and switches could be controlled by both pilots simultaneously. However, depending on the aircraft and configuration file you use, some functions could be controlled only by one pilot. This is always the main aircraft control: yoke, rudder, throttle, etc. On the next screen you see how it looks like when the pilot has control over the aircraft:
This is how it looks for another pilot:
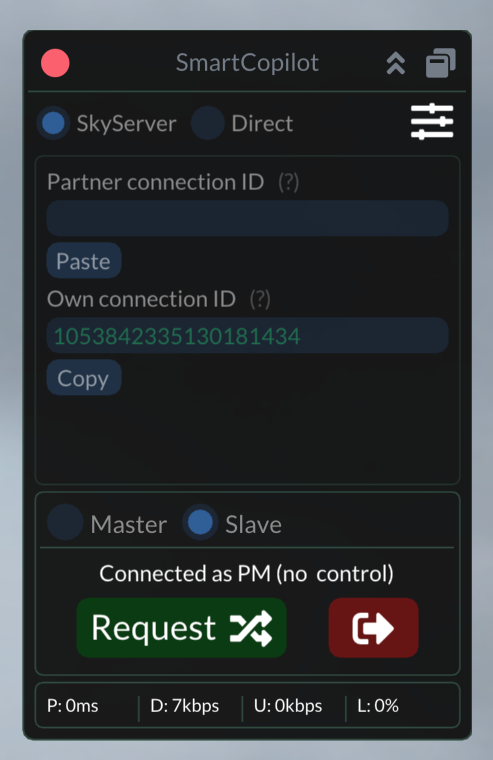
The pilot without control has a possibility to request control by pressing Request button. The pilot having control has 20 sec to release control by pressing release button:
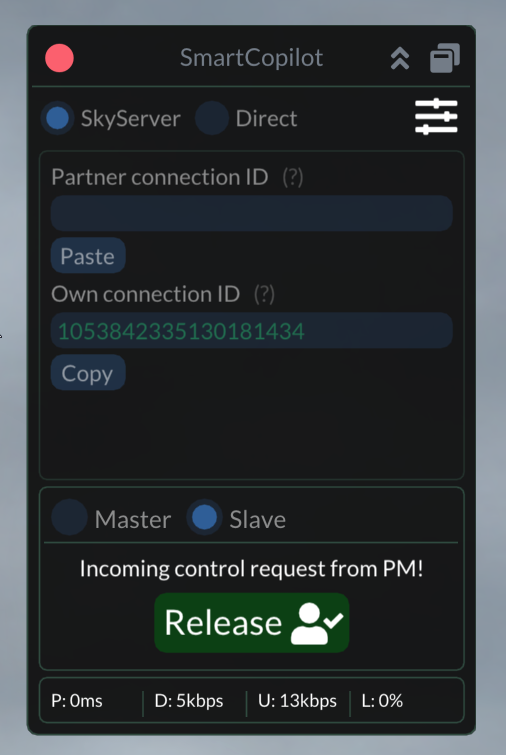
From this moment, the pilot roles will be swapped. If you want to have a possibility to request control without waiting for release, you can enable the “Force control release” option in the Masters plugin settings:

SmartCopilot Features
By pressing double arrows button on top of the window you can toggle between full and minimized SmartCopilot window:

The transparency of the minimized window could be adjusted in UI settings:
- Transparency – transparency of the minimized window
- Show on startup – enables SmartCopilot to show the UI window on every X-Plane start
- Disable window popup – by default, every connection request will lead to UI window popup. With this option, you can disable this behavior.

SmartCopilot UI window could be popped up from the main X-Plane screen to the separate window.

Depending on the configuration file, there are different synchronization options which could be enabled or disabled during the flight:
- Sync Transponder – enables transponder synchronization. Could help when flying on VATSIM or IVAO networks. Can be operated by the Master only.
- Sync Weather – enables weather synchronization. If you enable this option, make sure the Slave doesn’t have any other weather injector. Can be operated by the Master only.
- Enhanced Slave smoothness – depending on Master and Slave FPS, the aircraft movement on Slave can be jittery. To solve this problem, try to enable this option. Can be operated by the Slave only.
This option can introduce another incompatibility problems with some addons. Use it with care!

SmartCopilot has a couple of hotkeys, which can be bound to the keyboard or joystick buttons:
- Control Request-Release
- Toggle SmartCopilot UI
